VRay User Attributes (English Translation)
Par Narann le dimanche, 17 février 2013, 22:33 - Infographie 3D - Boulot - Lien permanent
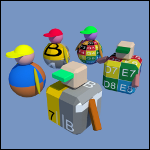 Here is a tutorial I wanted to do for quite some time. :dentcasse:
For a long time now, VRay can use per object attributes to control some values. It can go far but often, this values are used in shaders. The general idea is to apply a single and unique shader to a big number of object, but that each object had some "special" attributes with value in them that will be applied to the shader. If you remember, I presented (french) a similar feature for mental ray (User Data).
But before doing that, this tutorial will explain how to export/import vrmesh then redo shader assignments directly within the vrmesh! As you can see, we have a lot to do! :bravo:
vrmeshs (aka proxy)
What?
Briefly: You know the principle of texture tiling? (No? Hop! Hop! Hop! (french) :Nannan: ) Well, principle is the same, but for geometry: Vrmesh are "ready to raycast" meshes. Geometry is stored in a grid (voxel).
So you only load necessary "box" to render. Your vrmesh can be huge, only the elements necessary for the calculation will be loaded/unloaded on the fly. As well as tiled maps, this increase your disk IO but gives you great flexibility.
Don't be afraid because of the size, vrmesh are done for! :D
Practice
Let's do simple, here is a scene with to 24 frame animation cycles:
At this step, principle is to assign, to each "shader group", an ordinary shader (lambert is fine). Name is the importante part because it will be stored in the vrmesh with it assigned faces:

Even though this is not required, try to keep coherence in names between all your objects. So, if you have characters crowd to export. Assign them all shaders "arm", "corp", "head", "Hair", "tenuHaut", "tenuBas", etc ... With a bit of script, you will save time later.
Select mesh group you want to export:

Then go in Create/V-Ray/Create proxy:
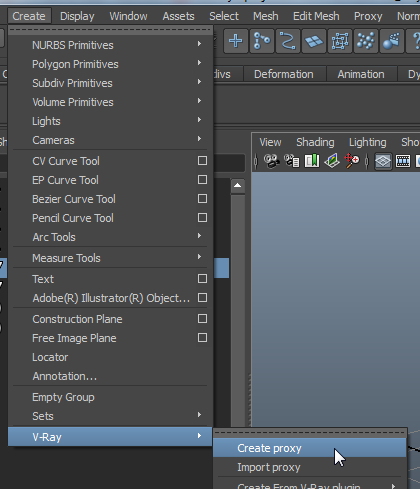
You will have a horrible quite sober interface:
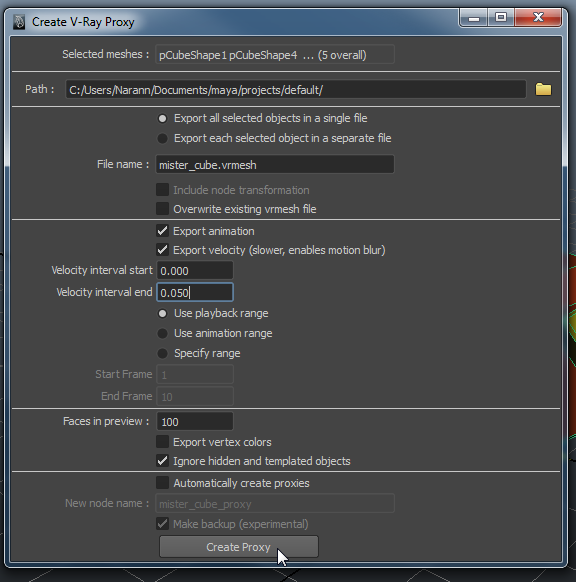
Select Export animation. If your mesh is animated and you plan to use motion blur on your final render, select Export velocity. The two values will create the interval to calculate direction vectors to be stored in the vertices. VRay will calculate the motion blur geometry from this informations. Be careful on this interval. You can expect some (bad) surprises. If you don't go with motion blur, deselect this option. This will store less information in the geometry.
In my case I also select Use playback range but advise accordingly to your case. :reflechi:
With Face in preview, Chaos Group provide us what look like a small and trivial feature but very interesting in practice: The idea is to save n face indices that will be displayed in the viewport later.
When doing proxy, mainly to lighten a scene, we often have to manage large bouding box. Depending on the pipeline, you may even have a proxy made by another department. Here, Chaos Group guys had a very interesting reflection: "Why not make a cool proxy corresponding to the real geometry?". The bet is entirely successful, you will see that later. :)
If you want to import directly the newly created proxy, you can select Automatically create proxies.
For the rest, I strongly advise you to read the documentation.
Once that's done, click on Create Proxy!
Proceed this steps for every characters you want to export.
To import all this:

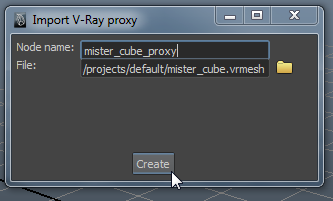
Tadaaaa:
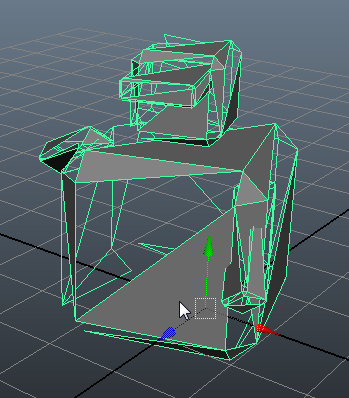
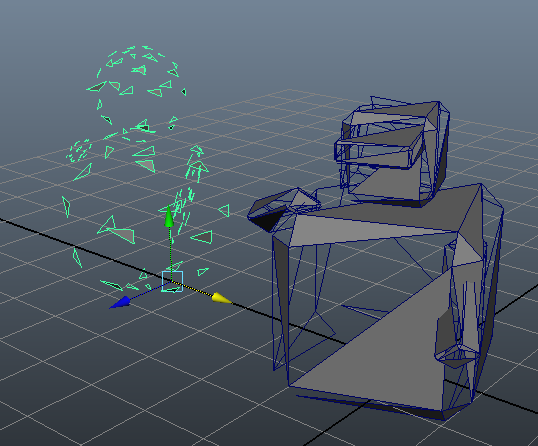
And now our 100 faces per object. Slap it right? :aupoil:
Seriously, you can import hundreds of them, your viewport does not flinch. In addition, these proxies correspond to the final model. This approximation should less bother you than a low model or worse, a bounding box.
Now let's look at this options:
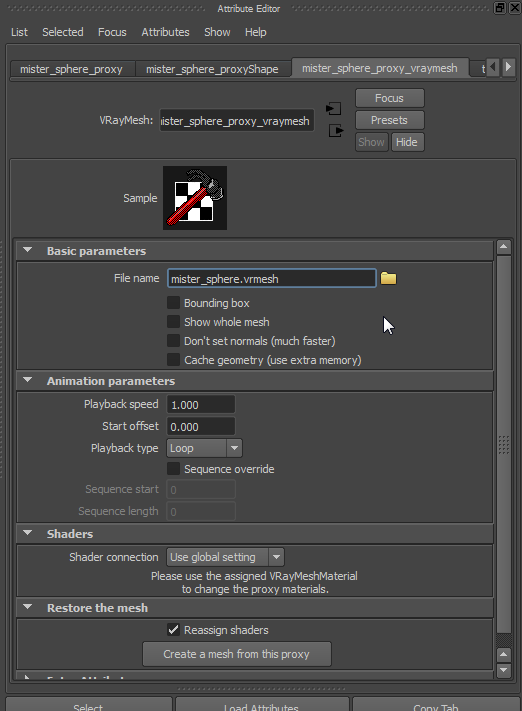
If we select Bounding box:
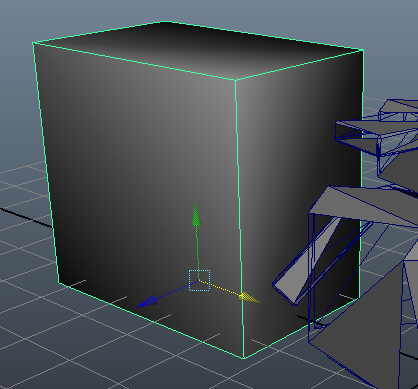
If you are not satisfied with the approximation, Chaos Group has got you covered: Show whole mesh:
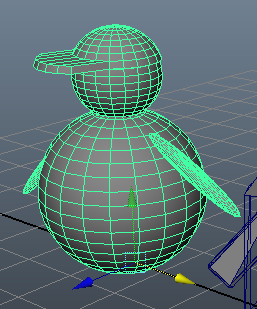
Other options are more specific. I will not go into detail. If you're interested: :RTFM:.
Just notice animation speed is customisable (anim is possible too! :gniarkgniark: ) and that in our case (and most cases) it's Loop.
Go tabs on the right. VRay has already connected a shader and...
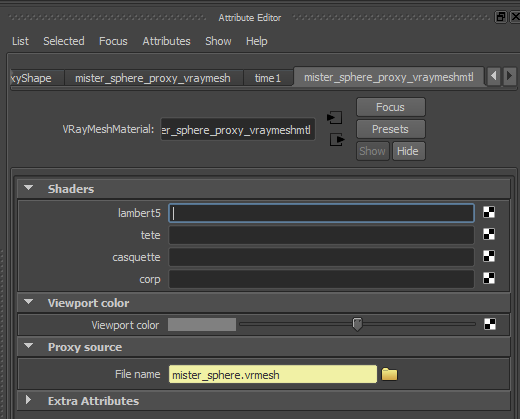
Oh miracle! Our slots are there! :laClasse:
You will just have to drag and drop shaders to use.
Note that trying too hard to be nice, VRay create a shader for each imported vrmesh. But if you import twice the same vrmesh, you will have two similar shaders. Don't hesitate to remove one and apply a single shader for each vrmesh "source".
Now let's get serious! :enerve:
User Attributes
Select the transform node of one vrmesh you have and add User attributes:
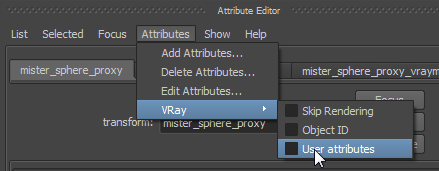
In these User attributes (lost at the bottom of your Attribute Editor) add the following:
casquetteColor=1,1,0;

There, you should begin to understand. :siffle:
On the second, create a similar value:

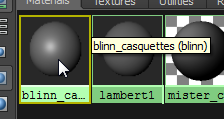
Now create a shader, a blinn in my example (Yes, I know it's bad). Give it a clear name (it will quickly become a mess in your connections so it's up to you :redface: ):
Add a VRayUserColor node then enter your attribute value:
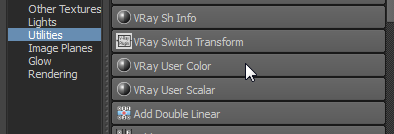
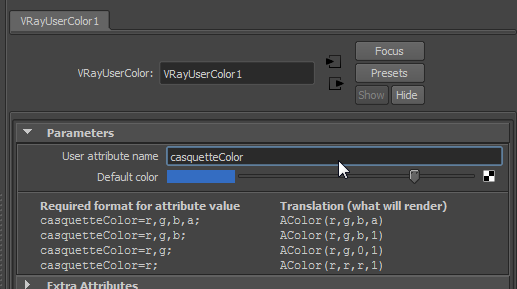
Set the default color you want. It will be the color used if User Attribute is not present/valid.
You have some syntax examples just below the node (another good idea).
Connect this node to the color attribute of your shader (it's a shame the default color is not used in the hypershade, it would be a nicer than a black hole).
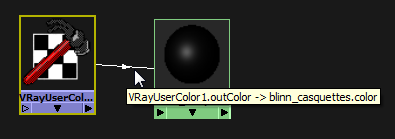
Connect your shader to both VRayMeshMaterial, in the "casquette" slot:
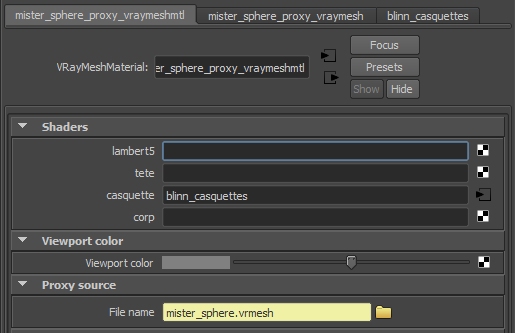
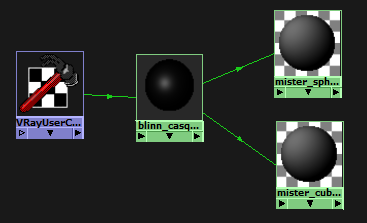
Then render:
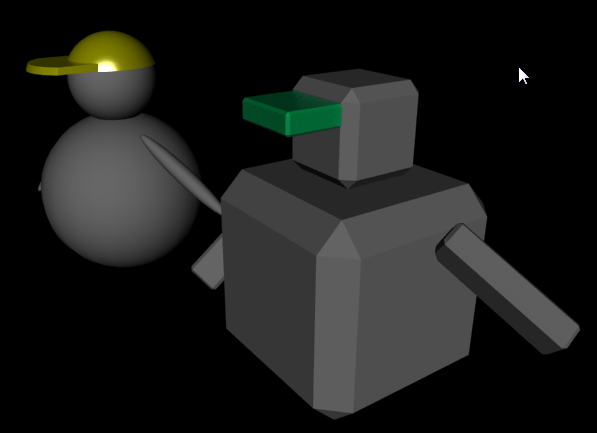
Do the same for all shaders (except "corp" that we keep for after :jdicajdirien: ):

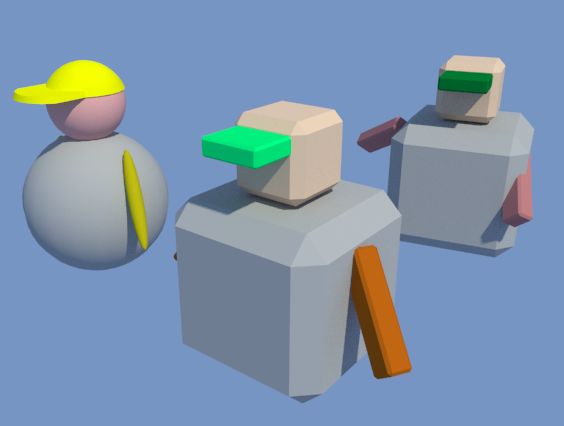
Well, those are for colors. You can do the same with VRayUserScalar and floatting point value.
Now we start the body ("corp"):
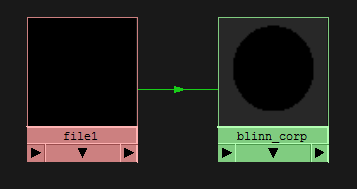
Supposing you have four textures:
- checker_default.png
- checker_four.png
- checker_etc.png
The only variable in your texture is located at the end (and, why not, in the path).
Put this in your file path:

Then apply this variable to your different User Attributes:


Render!
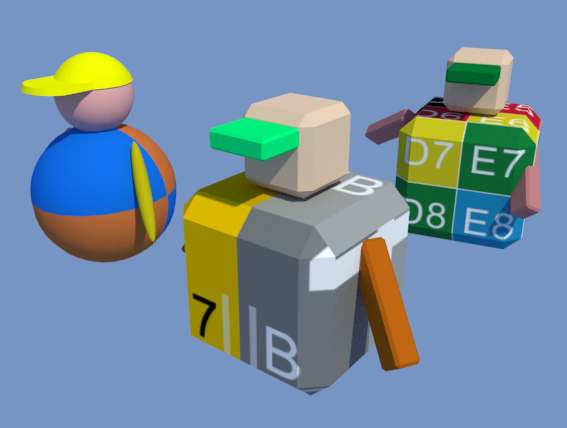
And if we have no limit:
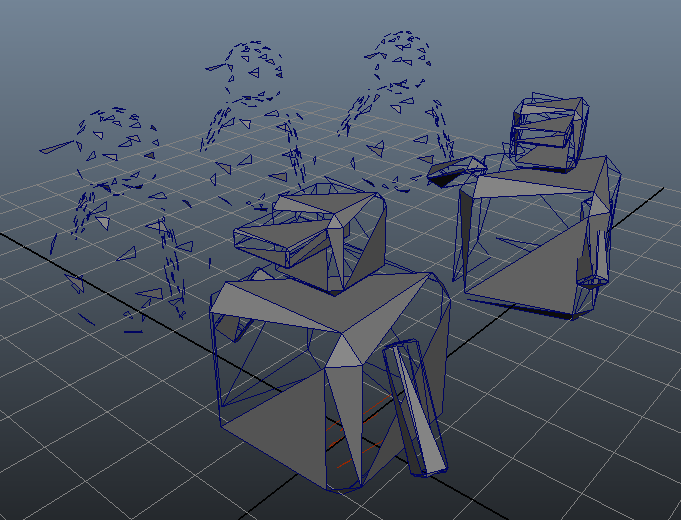
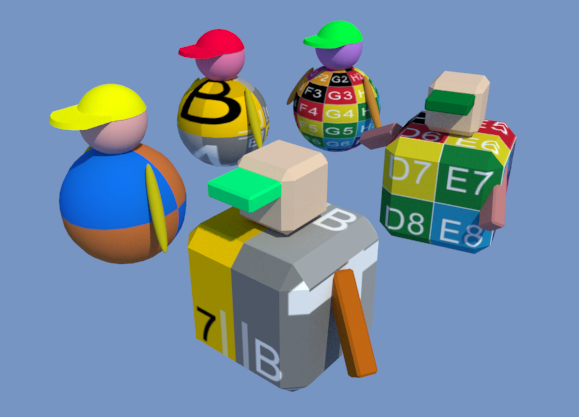
If you often do crowds, you should seriously consider this solution.
Notice
I think, as mental ray User Data, it's a bit cumbersome to deal with. But if you or your colleague is scripter, it is not too difficult to put it up on a production.
I breath the poppy it may (this is unconfirmed so take with a grain of salt) Deex (whom I thank for making me discover VRay) integrates a simple way to deal with them in Arsenal (but dont be too hasty :sourit: ).
Conclusion
I hope this tutorial will help you in your productions.
See you!
Dorian
Commentaires
cool !! , have you tried using instanced particles ?
No. :)
I don't know if user attributes are working with particles.
Hello Dorian,
You say :
"Assign them all shaders "arm", "corp", "head", "Hair", "tenuHaut", "tenuBas", etc ... With a bit of script, you will save time later."
Good idea but, I don't manage to get the shaders attribute niceName.
listAttr -k -m $vraymeshmtl
returns : // Result: fileName shaders[0] shaders[0].shadersR shaders[0].shadersG shaders[0].shadersB shaders[1] shaders[1].shadersR shaders[1].shadersG shaders[1].shadersB shaderNames[0] shaderNames[1] color colorR colorG colorB //
now if I want to get the niceName of shaders[0] to know the name of the shader to connect :
$niceName = `attributeQuery -nn -node vraymeshmtl shaders`;
returns : // Result: Shaders //
and
$niceName = `attributeQuery -nn -node vraymeshmtl shaders[0]`;
returns : // Error: line 1: Attribute name not recognized. //
have you an idea to get niceName for a multi attribute ? Thanks